I wanted to do a quick post about a feature in Microsoft SQL Server that has been around for some time now (since Microsoft SQL Server 2016 I believe) called Always Encrypted. Always Encrypted is a feature that you can enable to easily encrypt data in your tables and ensures that it stays encrypted all the way to your endpoints. This is an extremely effective solution when passing data to other applications. Today we are going to walk through a simple tutorial on how to get started using Always Encrypted.
In this post I will be using Microsoft SQL Server 2019 Standard for my database needs, and I will also be using Microsoft SQL Server Management Studio v18.12 to interface with the database.
Setting Up the Schema
First, we will setup our database and create a table inside of it. The database is going to house all of the data for my new company, Stirbux Coffee. As of now, I do know that I will need some sort of table that holds records for all of my customers. In the future, I am going to create a mobile application for my customers to login to and order Stirbux Coffee. With that in mind, the table is going to utilize a column for a username and a column for a password. We will also have another column for a credit card number so that the customer does not have to enter their credit card number every time they want to order one of my delicious coffees.
With this information, we will create the database and the table using this script:
-- Create the Database
CREATE DATABASE [StirbuxCoffee]
GO

-- Switch to the Database
USE [StirbuxCoffee]
GO

-- Create the Customers Table in the Database
CREATE TABLE [dbo].[Customers] (
	[CustomerId] [int] IDENTITY(1, 1) NOT NULL PRIMARY KEY,
	[FirstName] [varchar](50) NULL,
	[LastName] [varchar](75) NOT NULL,
	[UserName] [varchar](75) NOT NULL,
	[Password] [varchar](24) NOT NULL,
	[CreditCardNumber] [bigint] NOT NULL
)
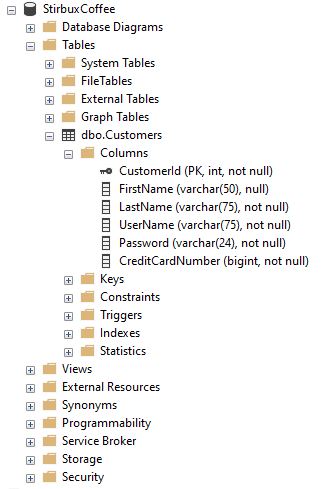
After executing this script (don’t forget to refresh the Object Explorer in SQL Server Management Studio), we will see the newly created database and its table.
Populating the Data
Now we will need some test data. The test data that I am entering will be in plaintext and then we will encrypt certain column data with Always Encrypted. Below is the script that I created to insert test data into our table.
-- Use the Company Database
USE [StirbuxCoffee]
GO

-- Add some Data
-- First record
INSERT INTO [dbo].[Customers]
VALUES (
	'John',
	'Smith',
	'jsmith',
	'JohnsPassword',
	1234567890123456
)

-- Second record
INSERT INTO [dbo].[Customers]
VALUES (
	'Annie',
	'Johnson',
	'ajohnson',
	'AnniesPassword',
	2345678901234567
)

-- Third record
INSERT INTO [dbo].[Customers]
VALUES (
	'Frank',
	'Callahan',
	'fcallahan',
	'FranksPassword',
	3456789012345678
)
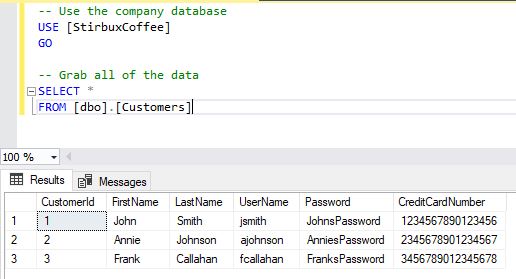
After executing this script, we can now query the database and see that all of the data is there.
Creating Encryption Keys
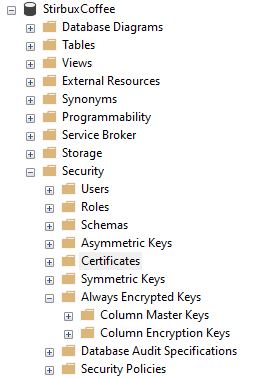
Now that we have our data, we will want to encrypt two columns: Password and CreditCardNumber. As of now the sensitive data is stored as plaintext and will travel to the end user application in plaintext. First, we need to create an Always Encrypted Column Master Key for the database. To do this root down to StirBuxCoffee > Security > Always Encrypted Keys > Column Master Keys in SQL Server Management Studio’s Object Explorer.
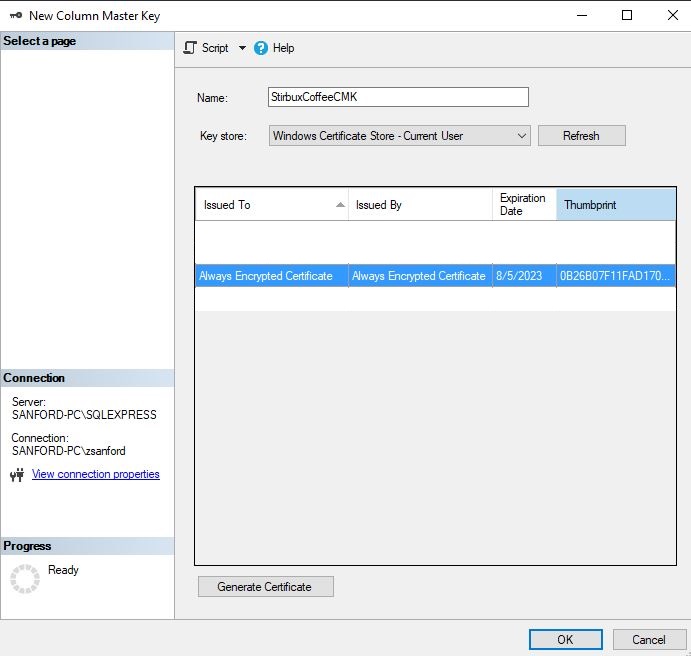
On the Column Master Keys directory, you can right-click and then select New Column Master Key…. In the wizard, we will want to give a name to our master key. I will call my master key StirbuxCoffeeCMK. We will also want to select a key store so that the key can be stored. I am going to store it in my Current User store within the Windows Certificate Store.
NOTE: You may want to store your keys elsewhere depending on the environment setup. I will be using the Current User store for demonstration purposes.
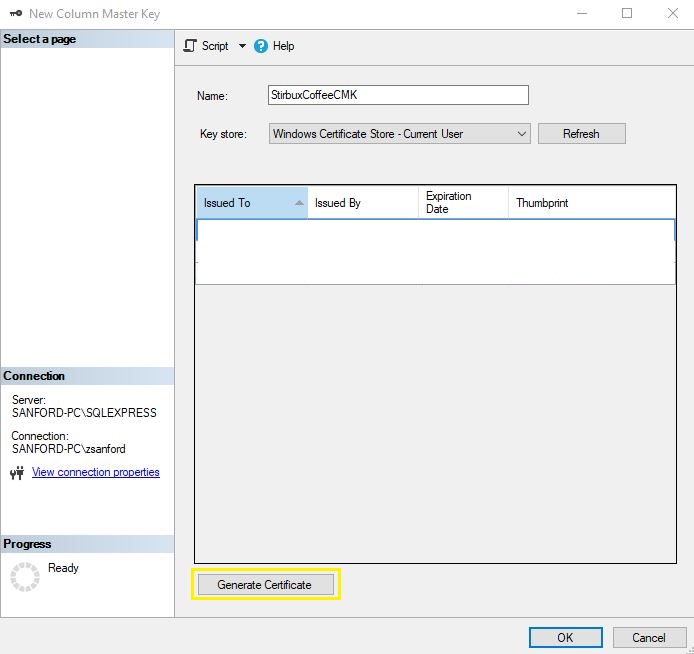
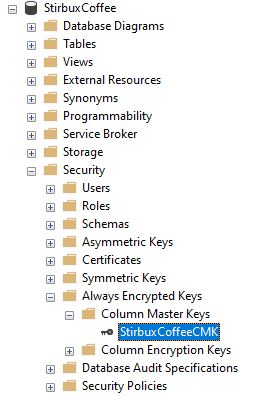
After configuring all of the settings, you can hit the Generate Certificate button. This will create and store the certificate. You will be able to see the new key in the wizard as well as in the Object Explorer in SQL Server Management Studio.
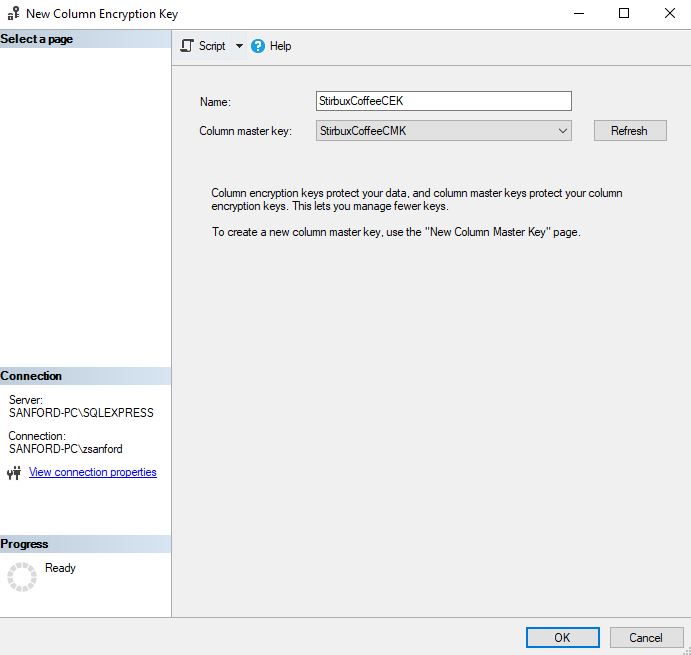
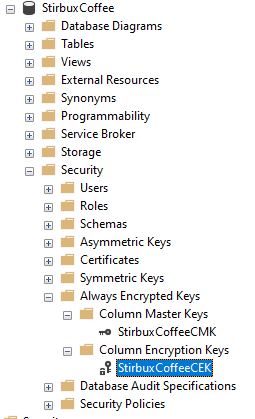
Next, we are going to create the Column Encryption Keys. To do this right-click on the Column Encryption Keys directory in Object Explorer and select New Column Encryption Key…. In this wizard you will pick a name for the encryption key as well as select the Column Master Key from the previous step. My Column Encryption Key will be called StirbuxCoffeeCEK. Once you are satisfied, click the OK button and that is it. You will now see the new Column Encryption Key in the SQL Server Management Studio Object Explorer.
Encrypting the Columns
With all of the keys that we need, we can start encrypting column data. Start by navigating to the table where you need the encryption and right-click it. There will be an option in the contextual menu labeled Encrypt Columns…. Go ahead and click it. This will start the Always Encrypted wizard.
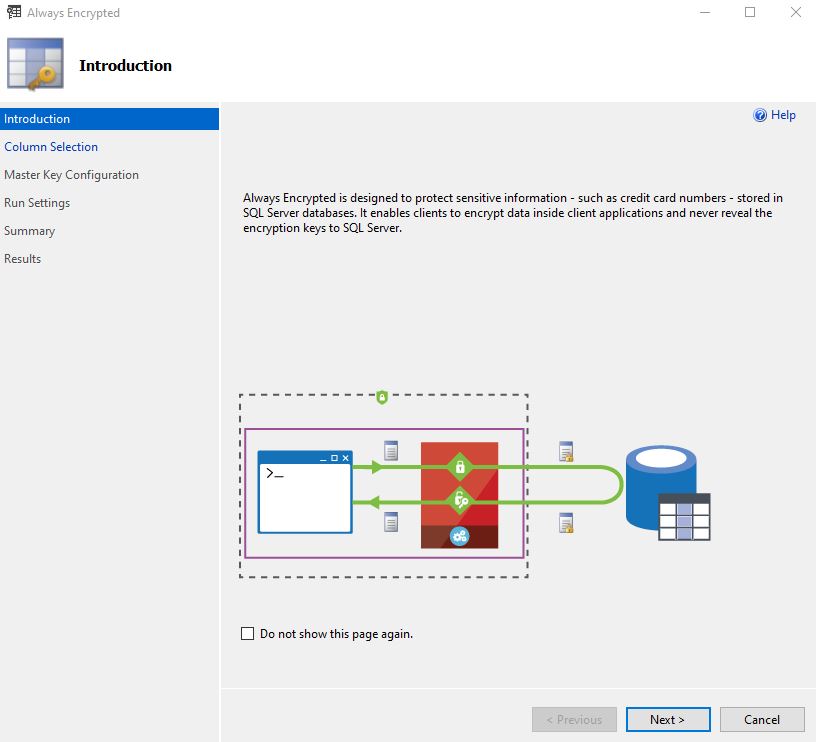
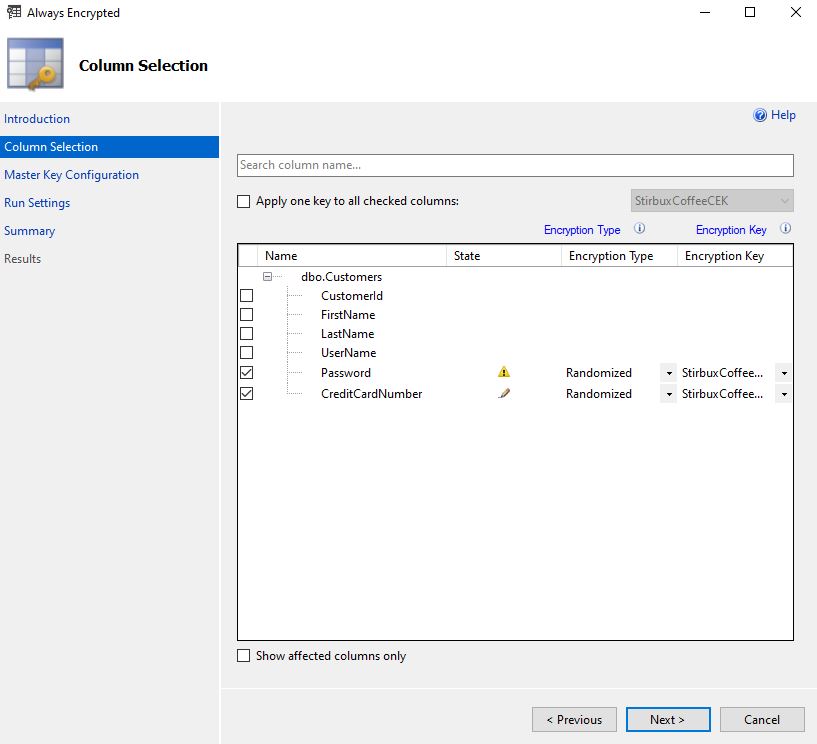
Start by clicking the Next button. This section allows us to select which columns we wish to encrypt. When you select a column’s checkbox, you will also have to select the Encryption Type and Encryption Key that you would like to use for that specific column. In our instance, we will select both the Password and CreditCardNumber columns. For both, I will choose the randomized Encryption Type and use our StirbuxCoffeeCEK key for the Encryption Key.
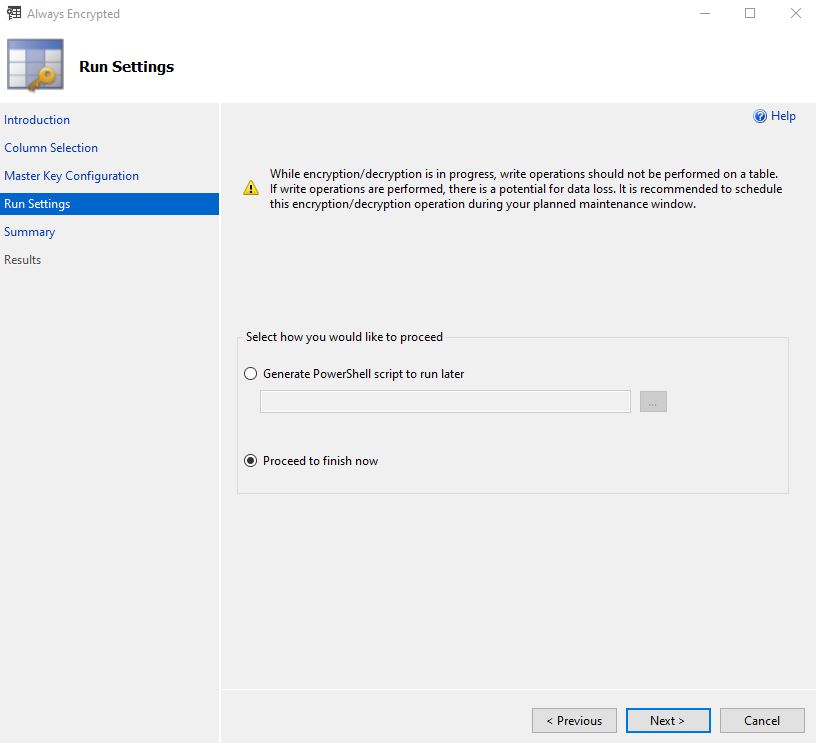
The next section, Master Key Configuration, will be skipped because we have already made our keys. After that we will select Proceed to finish now to finalize the column encryption. Click the Next button, followed by the Finish button on the Summary page.
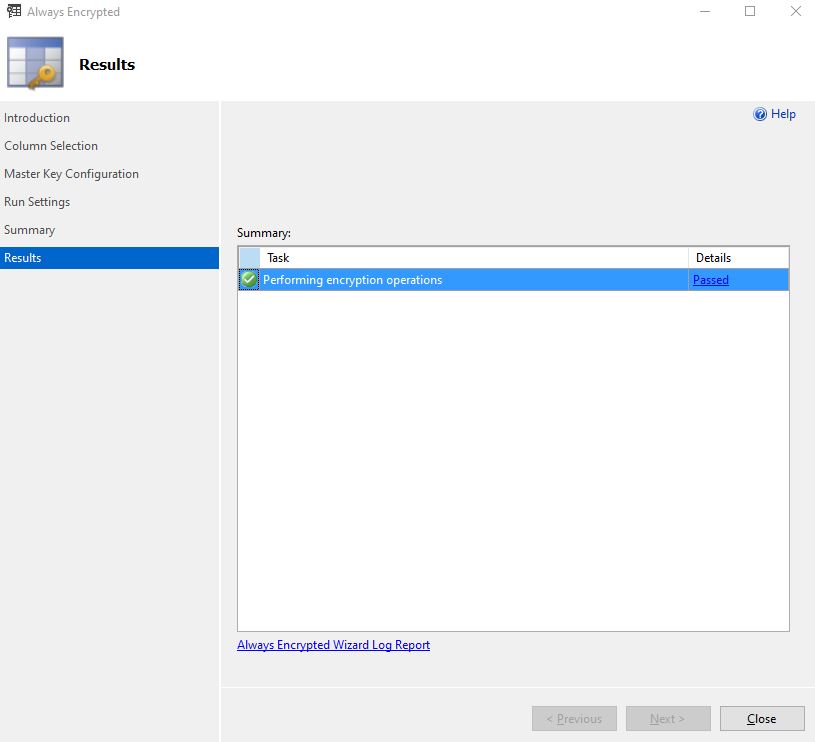
Depending on the columns and how many of them there are, this encryption process might take some time. For me, it took roughly 20 seconds. After it finishes, the wizard will present you with a Results page.
The Results
From here we can confirm that the columns have been encrypted by running a query like the one below.
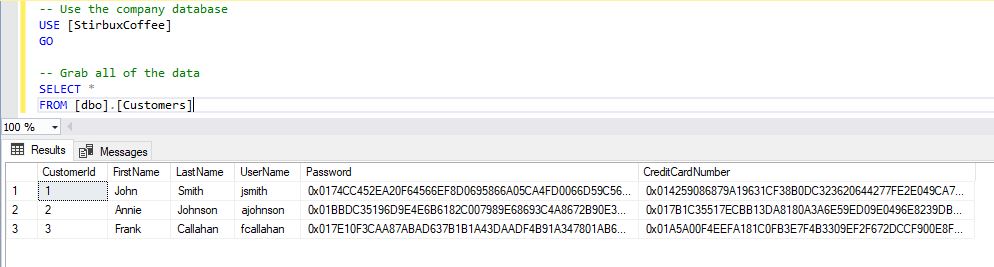
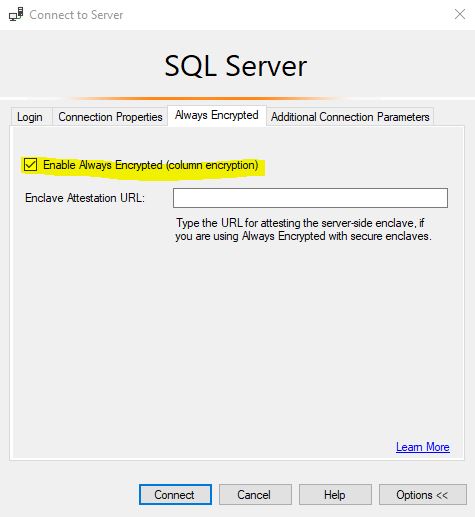
This shows that the two columns that we have selected have in fact been encrypted. When we insert more data into that table, the data for those two columns will dynamically encrypted. Of course, we can see the data in plaintext (but leave it encrypted) by reconnecting to the database with the Always Encrypted option enabled in the SQL Connection.
Always Encrypted helps by transporting sensitive data between the database and the application that accesses the data, by encrypting it and ultimately keeping it away from unwanted viewers. This feature is easy to setup and maintain for a more secure system. I hope that this quick tutorial has helped you in getting started with Always Encrypted.